20 Jan Let’s roast coffee at home!
We live in the Do It Yourself (DIY) era and we are attracted to the natural, the recycled and the vintage. But even with our favorite drinks? Well of course I do. Have you ever wondered if you can roast your own coffee at home? Maybe your relatives used to do it when you were a child and this is your time to pick up the family tradition. Things may not go very well the first time, but we assure you: the experience from now on will be unique.
Of course, you must put your five senses into it and sharpen your sight, smell and hearing to achieve the aroma and texture of your preference. Get rid of your attachment to a single package of coffee and a single brand. Play with the colors, smells and flavors of your grains and discover a different variety every week. Maybe and even achieve a new roasting method that becomes world famous.
Step no. 1: Pick the grains
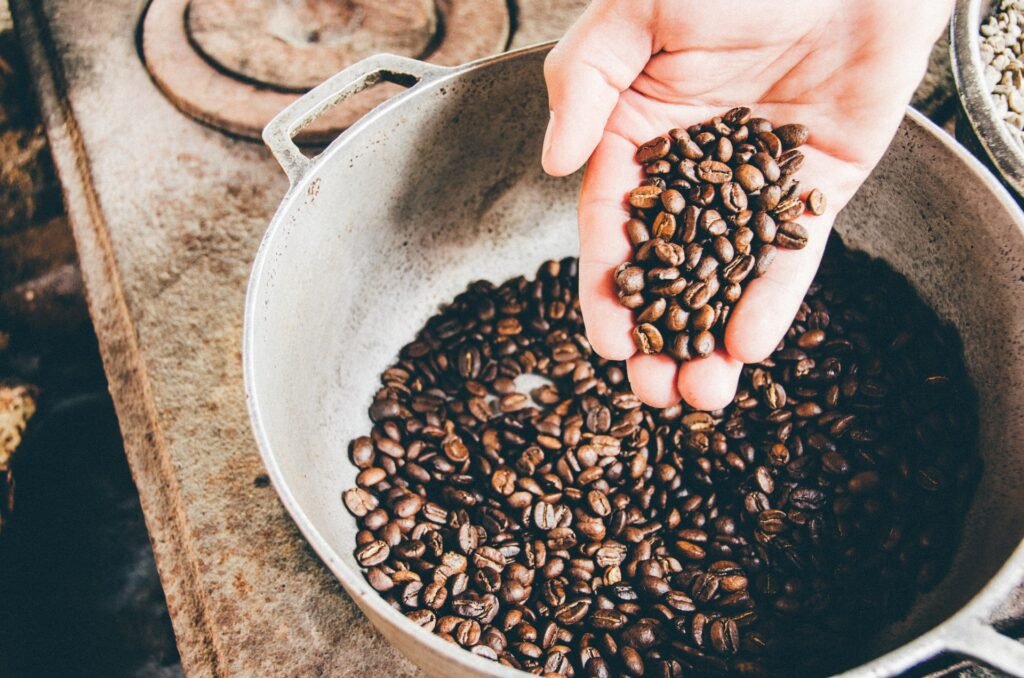
We will not make you go to the mountains to collect the coffee beans, but we can guide you on your purchase. First of all, you should know that the grain you will buy is not brown like when you buy it, nor red like it appears in certain photos online. Actually, after the harvesting process and putting it in the sun for a few days, the shell is removed and a green bean emerges from inside. This is the one you will buy.
You must choose the right grain. If you prefer it sweeter, choose coffee grown in highlands, while those grown on plains will give you stronger and more bitter flavors. You can buy it in specialized stores, supermarkets, markets and even on the Internet. However, the time since the grains were packaged is very important, because this way the roast does not remain rancid and, therefore, we will be able to enjoy the drink at the end of the process.

Step no. 2: The utensils and the preparation
To roast coffee it is essential that you do it in ventilated areas. A garden or garage would be ideal, but if you don’t have either, make sure you have an extractor fan in your kitchen. You can also open all the windows and keep the little ones away from home while cooking. Not only your health, but also the quality of the coffee depends on proper ventilation during roasting.
To toast it itself, you can use professional equipment or some utensils you have at home. There are coffee roasting machines for the home, but if you don’t know how they work, they can become dangerous. Some blogs also recommend using a popcorn maker, but let’s be honest, we don’t see the word coffee in it, so avoid it.
The simplest way, although you will need to perfect your technique, is to roast the coffee in a pan and with a gas stove. To do this, make sure that your pan has this exclusive use, so you do not mix flavors or smells. In addition, it is important that you have kitchen gloves and a spatula to remove the coffee beans without risk of burns.
Step no. 3: The roast
Once the previous two steps are ready, you can start roasting. We emphasize this because it is important that you do not neglect roasting for even half a minute, you will have to monitor the smell, color and sounds that the coffee beans make all the time. Firstly, by heating a frying pan in your kitchen without anything else and after a few minutes you can add the green coffee beans.
It begins to tirelessly remove the grains. You don’t have to do it very quickly either, as long as you distribute the heat evenly everything will be fine with your roast. Notice how the color changes and the coffee beans widen. You will hear a small “crack” when the coffee is ready. This applies if you prefer light and sweet roasts. Conversely, if you want your coffee to be darker and more bitter, leave it in for a few more minutes or remove it when you hear a second crack between the coffee grounds.
The grains will go through a natural drying process, reducing the humidity between them. Then, they will take on yellow, light brown and brown tones. Don’t marry a roast time. The amount of coffee and the temperature of your oven are very variable, therefore, the result will be too. Outdoor roasting will also make your pan take longer to heat up, so there are no exact times, think about all of this before you decide to roast your coffee at home. The process usually won’t take more than 20 minutes, so it’s quick and delicious.
Step no. 4: Let it rest
Once the coffee beans are at the point you like them, turn off the heat. It is essential that you also remove them from the stove and spread them on a cold surface. The beans will still finish roasting due to the heat between them. When they reach room temperature, you should remove the husks that remain on them and the soot from the roasting process with your hand.
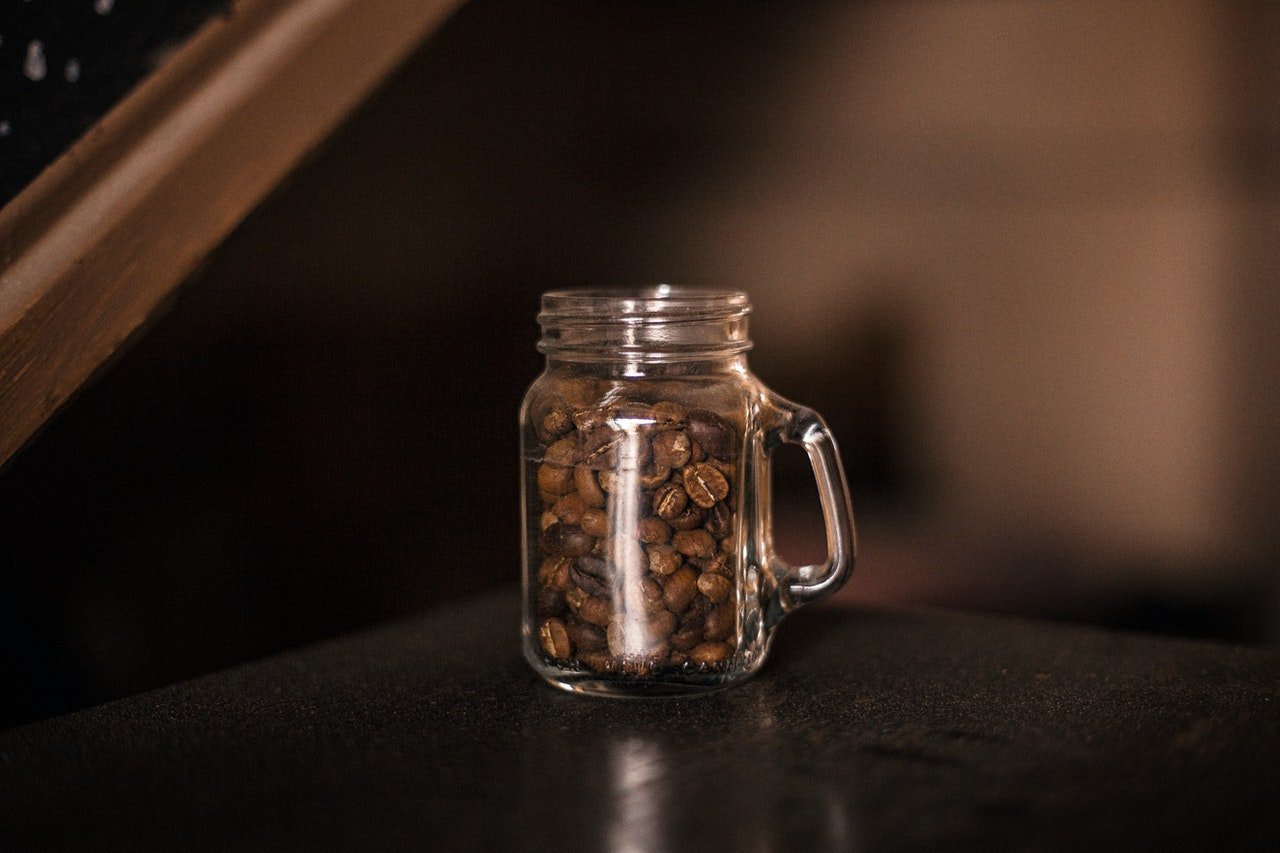
Do not forget to store them later, as agents such as light and air contribute to their oxidation and their flavor is not as delicious. Therefore, we recommend that you store it in sealed packages or pots and place them where direct sunlight does not reach them. After three days they will be ready and very fresh to consume in the form of your favorite drink.
Conclusions
DIY roasting doesn’t seem complicated. At Café Hampei, we have put at your disposal a delicate and very natural way of drinking your coffee, experiencing all the magic of the roasting process. Not only is this option inexpensive, but it will bring out all of your skills as a roaster, taster, and barista. You’ll see, each roast will be better than the previous one. Don’t let your spirits drop, but why do you drink coffee?
No Comments